
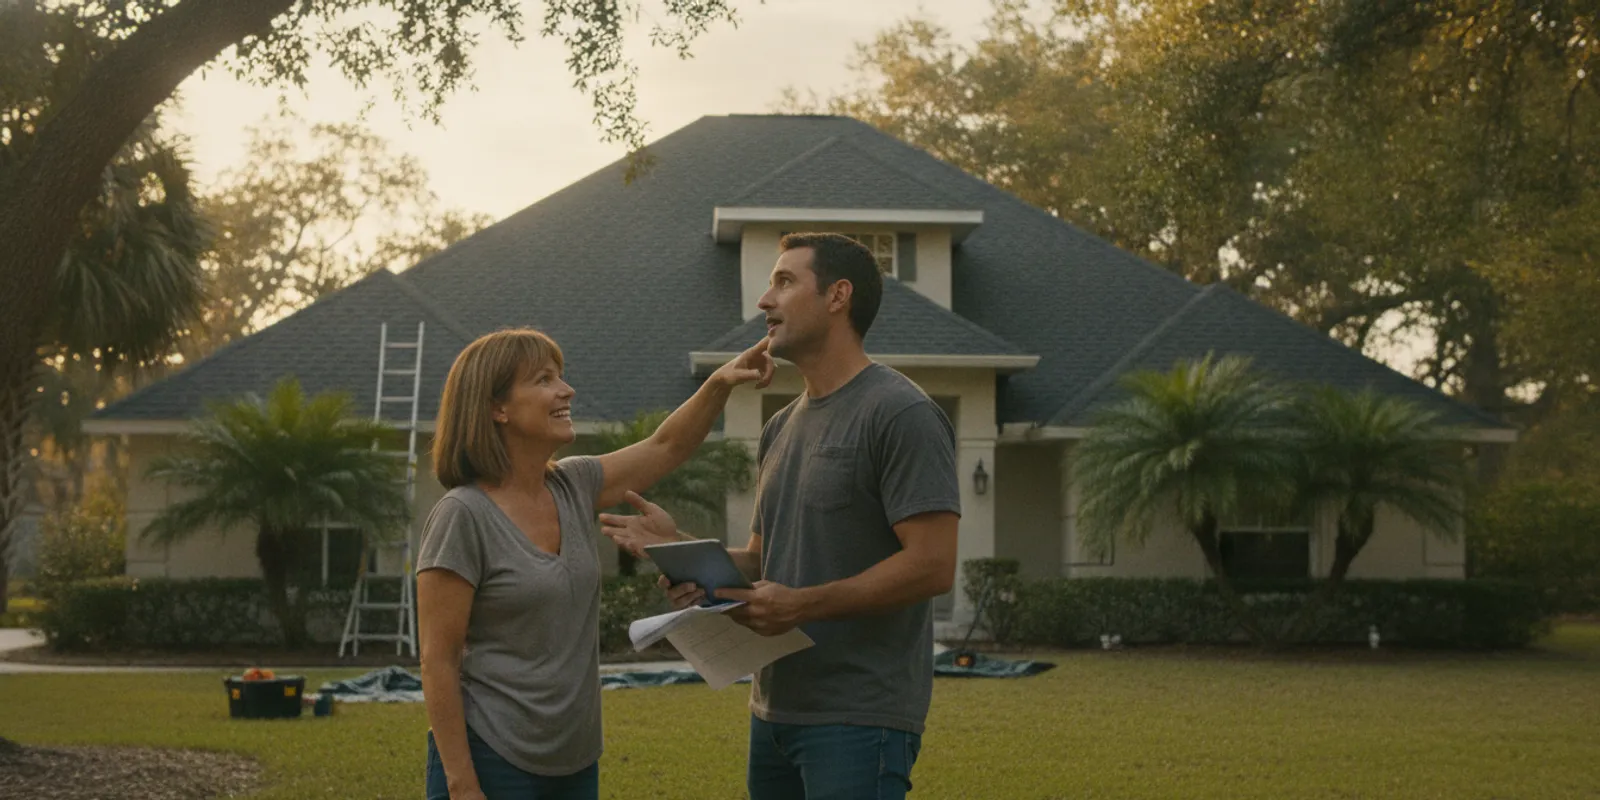
Knowing what to expect during a final roofing walkthrough can help you close a project with clear answers about the work, cleanup, and records. Use the visit to review the completed scope with the contractor, ask about anything that looks different from the estimate, and understand what to do if a concern appears later.
What is the purpose of a final roofing walkthrough?
A final walkthrough is a chance to discuss the completed work and make sure you understand the closeout details. It is not a substitute for the written estimate, contract, permit requirements, or any inspection required by the local building authority. Think of it as a structured conversation: compare the result with the agreed scope, ask questions, and document any item that needs clarification.
Before the meeting, find your estimate and any change orders. Mark the main work items, such as roof covering, flashing, ventilation, or other agreed work. If you have photos from before the project, keep them handy for context. A contractor may also have progress and completion photos to review with you.
What should you review from the ground?
Do not climb onto the roof to inspect it. Roof surfaces can be steep, slippery, or fragile, and a ground-level review is safer for homeowners. Walk around the home with the contractor, if conditions allow, and compare visible details with the work description.
- Roof edges and visible materials: Ask whether the installed material matches the product and color selected in the agreement.
- Visible flashing areas: Ask which roof-to-wall, chimney, or penetration details were included and where they can be seen from a safe vantage point.
- Gutters and downspouts: If related work was part of the scope, check that the agreed components appear installed and ask how water is intended to move away from the roof edge.
- Yard and exterior cleanup: Look for leftover packaging, nails, or other debris in accessible areas. Ask what cleanup steps were completed and whether any final pass is planned.
- Interior observations: If you noticed a leak or ceiling mark during the project, point it out and ask how it will be evaluated. A stain may need separate investigation and should not be assumed resolved by appearance alone.
Weather, roof design, and viewing angle can limit what is visible from the ground. For work that cannot be judged from outside, ask for a plain-language explanation and supporting photos rather than trying to access the roof yourself.
How can you compare the finished work with the agreement?
Use a written list rather than relying on memory. The table below gives a simple way to organize the conversation. The exact items depend on the contract and project.
| Area to review | What to compare | Useful question |
|---|---|---|
| Materials | Product, color, and components stated in the agreement | Can you confirm what was installed and provide product information? |
| Scope | Work items and approved changes | Which listed items are complete, and were any changes documented? |
| Cleanup | Agreed debris removal and site protection | What cleanup was done, and is a final check needed? |
| Closeout | Invoices, warranty information, photos, and applicable inspection records | Which documents should I keep, and who should I contact with a concern? |
For projects involving shingles or metal, the material choice should match the agreement. North Wood’s Roofing offers shingle roofing and metal roofing; reading the relevant product information can help you identify the right questions to ask about your own project.
Which documents and answers should you leave with?
Ask for the final invoice and any project records that apply. Depending on the job, useful records can include the signed agreement, approved changes, product details, completion photos, warranty documents, and permit or inspection information. Keep copies in one place with the date of the walkthrough.
Warranty terms differ, so read the actual paperwork for coverage, exclusions, and steps for making a request. North Wood’s Roofing describes its warranty information online. Ask which terms apply to your specific job; do not rely on a verbal summary alone.
For repairs, clarify what area was addressed and what signs should prompt follow-up. A repaired section does not mean every part of an aging roof has been renewed. If the project involved roof repair, the contractor can explain the completed scope and any items that were outside it.
What should you do if something needs attention?
Be specific and calm. Point to the location, describe what you see, and ask the contractor to explain whether it relates to the agreed work. If it cannot be resolved during the walkthrough, write down the issue, who will follow up, and the expected next step. Take photographs from a safe position when useful.
Do not treat a cosmetic difference as proof of a defect, but do not ignore an unresolved concern either. Ask for the response in writing and keep it with your project records. If water is actively entering the home, protect belongings where safe and contact the contractor promptly for guidance.
Homeowners planning a separate repair can review the company’s roof repair information. Those in Live Oak or Lake City may also find local context in the pages for Live Oak roof repair and Lake City roof repair.
How should North Florida homeowners prepare?
Rain, heat, and humidity are part of the local environment, but the walkthrough should focus on the actual contract and observed work rather than assumptions about weather performance. Consider these practical steps:
- Choose a time when you can walk the accessible perimeter safely.
- Gather your agreement, change orders, and questions before the meeting.
- Ask the contractor to explain any details that are not visible from the ground.
- Confirm whether any local inspection or remaining closeout step is still pending.
- Save project photos, invoices, and warranty documents after the meeting.
Workmanship expectations and coverage depend on the terms provided for the project. North Wood’s Roofing serves homeowners in Gainesville, Live Oak, Lake City, and nearby North Florida communities. The company provides free inspections and estimates with photo documentation; learn more about its roofing services or local, owner-led approach.
How can you make the walkthrough useful and focused?
A walkthrough works best when it follows the project paperwork instead of becoming a general inspection of every part of the house. Start with the contract scope, then move through the work in a consistent order. This helps you distinguish an item that was included from an improvement or repair that was never part of the agreement.
- Confirm the project boundary. Ask the contractor to summarize the work completed and identify any items that were excluded or handled under a separate change order.
- Review changes one at a time. For each approved change, compare the written description with the final invoice or closeout record. If a change was discussed verbally, ask how it was recorded.
- Ask about hidden details with photos. Underlayment, flashing, and other components may no longer be visible after installation. Request relevant progress photos and an explanation of where each detail is located.
- Separate questions from action items. Some questions need only an explanation; others may require a return visit or written follow-up. Record the responsible person and next step for each unresolved item.
For example, suppose the estimate lists replacement of roof covering and flashing around a vent, while your question concerns a gutter that was not included. The contractor can explain the completed roofing scope, but gutter work should be discussed as a separate item rather than treated as an incomplete roofing task. This keeps the closeout conversation specific and helps everyone work from the same written description.
What should you do when weather or visibility limits the review?
Rain, darkness, glare, or a steep roofline can make some observations difficult. Do not rush the meeting or attempt to climb a ladder or walk on the roof to improve your view. Ask whether the contractor can show dated project photographs or arrange a safer time to review visible details. If the weather makes an exterior walk unsafe, handle the document review first and agree on a later check when conditions allow.
For any required permit or building inspection, ask what process applies to your address and project. A contractor discussion is not a substitute for an inspection by the authority responsible for the permit. Keep any inspection result with the agreement and closeout records. If you are unsure which office handles the question, check your permit documents or contact the local building department.
Roof work involves fall hazards. The Occupational Safety and Health Administration provides safety information for roofing and construction work; homeowners should leave roof access to qualified workers and review inaccessible details from the ground or through photographs. See OSHA’s workplace safety resources.
How should you organize follow-up after the meeting?
Set expectations for timing without assuming that every question can be settled immediately. Ask whether a follow-up depends on dry weather, a product record, or a separate inspection. If a return visit is planned, confirm who will arrange it and how you will know it is complete. For an item that needs monitoring, ask what observable change would warrant another call. For example, if you see a new ceiling mark after rain, note when it appears and whether it changes, then report it promptly rather than diagnosing the cause yourself.
Before the contractor leaves, read back any action items so both sides have the same understanding. A short written note can include the date, location of the concern, what was observed, and the agreed next step. If an item is already resolved, record the explanation for your own files. This is more useful than a vague note such as a note to check the roof which does not identify the location or question.
Keep a simple project folder, whether digital or on paper. You might organize it into four groups:
- Agreement: original estimate, contract, and approved change orders.
- Work record: progress or completion photos, product information, and notes from the walkthrough.
- Closeout: final invoice, payment records, permit documents, and any inspection result that applies.
- Coverage and follow-up: warranty documents, care instructions, and written responses about unresolved items.
Use descriptive file names that include the date and topic, such as walkthrough-photos-north-slope or final-invoice. Save copies in a place you can find later, and avoid relying on a text message thread as the only record. If you send a follow-up message, identify the project and refer to the specific issue discussed so the conversation remains easy to track.
Frequently asked questions about a final roofing walkthrough
Should I get on the roof during the walkthrough?
No. Homeowners should not climb onto a roof to inspect completed work. Ask the contractor to explain the work and show photos or other documentation for areas you cannot safely see.
Does a final walkthrough replace a building inspection?
No. A homeowner walkthrough and any inspection required by the local authority are different steps. Ask the contractor what records apply to your project and confirm any required inspection status.
What if I notice a concern after the contractor leaves?
Photograph it from a safe location, note when you noticed it, and contact the contractor using the information in your project documents. Explain what you observed and ask what follow-up is appropriate.
What should I keep after the project?
Keep the agreement, change orders, final invoice, product and warranty information, relevant photos, and applicable permit or inspection records together. These documents make it easier to understand the work later.
A thoughtful walkthrough leaves you with a clear understanding of the completed scope, the documents to keep, and the right contact for any follow-up question.